保姆级教程:使用 Cloudflare + GitHub Actions + Gitee 实现全栈应用自动化部署
保姆级教程:使用 Cloudflare + GitHub Actions + Gitee 实现全栈应用自动化部署
xukun需求:从零开始,利用 Cloudflare 的强大生态(Pages, Tunnel)和 GitHub Actions,实现前后端的全自动化部署。
特别针对国内服务器环境,采用了 Gitee 作为代码中转站 的方案,完美解决了 GitHub 被墙的问题。
架构概览
- 前端: 托管于 Cloudflare Pages (免费、全球 CDN、自动 HTTPS)。
- 后端: 部署在 **国内云服务器 (VPS)**,通过 Cloudflare Tunnel 暴露服务。
- CI/CD:
- 前端:Push 代码 -> Cloudflare 自动构建。
- 后端:Push 代码 -> GitHub Actions -> 同步到 Gitee -> 服务器从 Gitee 拉取 -> 重启服务。
一、 前端部署 (Cloudflare Pages)
1. 创建项目
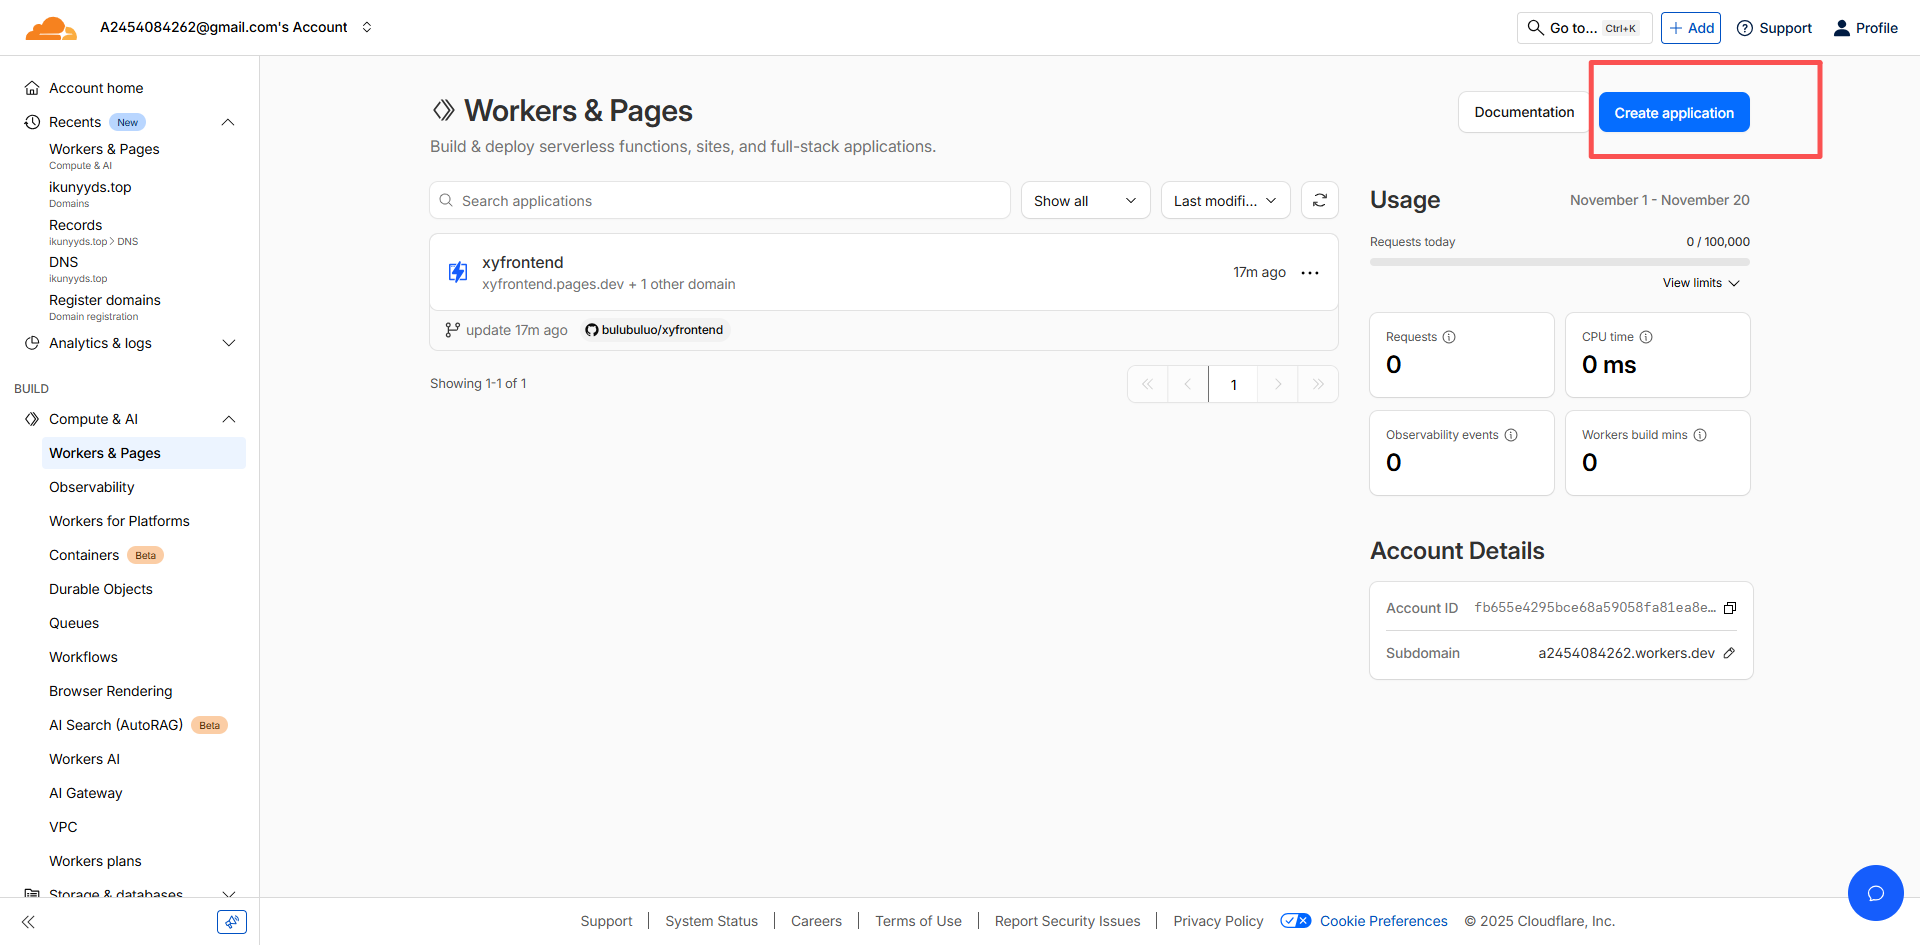
登录 Cloudflare Dashboard,进入 Workers & Pages。
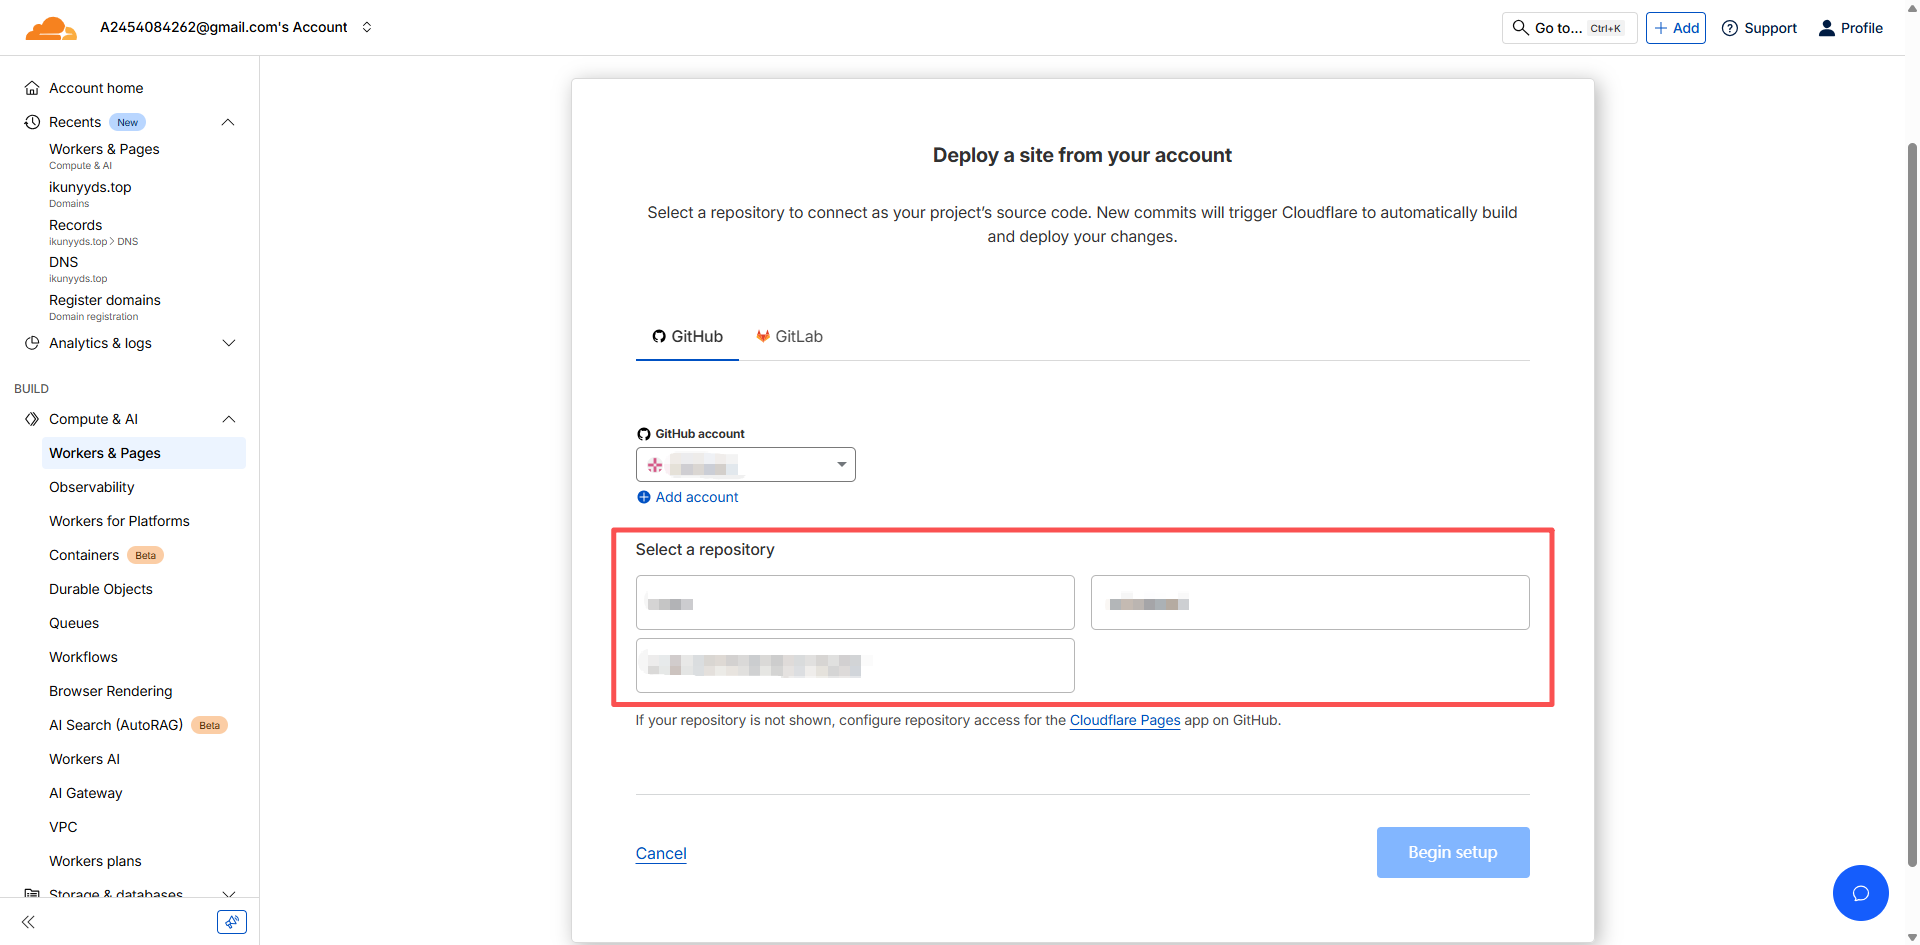
点击 Create Application -> Pages -> Connect to Git。

选择你的 GitHub 前端仓库。

2. 配置构建
- Framework preset: 选择你的前端框架 (如 Create React App, UmiJS 等)。
- Build command:
npm run build(打包命令)。 - Output directory:
dist(或build)。
3. 环境变量配置 (关键点)
如果你的前端需要调用后端 API,建议将 API 地址设为环境变量,而不是写死在代码里。
在 Pages 设置中添加环境变量:
REACT_APP_BACKEND_HOST=https://api.your-domain.com
特别注意:对于 UmiJS 或某些 Webpack 项目,默认不会将环境变量注入到浏览器端。你需要修改配置文件(如
config.ts):1
2
3
4
5
6
7
8// config/config.ts
export default defineConfig({
// ...
define: {
// 显式将环境变量传递给代码
'process.env.REACT_APP_BACKEND_HOST': process.env.REACT_APP_BACKEND_HOST,
},
});
4. 绑定自定义域名
在 Pages 项目页点击 Custom domains,输入你的域名(如 www.your-domain.com),Cloudflare 会自动配置 DNS 和 SSL 证书。
二、 后端环境准备 (CentOS 7.9 为例)
1. 安装 JDK 17
这一步根据自己项目的jdk版本来安装,推荐使用 Amazon Corretto,稳定且安装方便:
1 | # 导入 yum 源 |
2. 安装 Maven
下载并配置 Maven 环境变量,确保 mvn -v 可用。
1 | # 下载 Maven 3.8.6 |
三、 内网穿透 (Cloudflare Tunnel)
使用 Tunnel 可以让你的后端服务在不开放公网端口的情况下被外部访问,更加安全。
1. 安装 cloudflared
1 | curl -L --output cloudflared.rpm https://github.com/cloudflare/cloudflared/releases/latest/download/cloudflared-linux-x86_64.rpm |
2. 创建隧道
1 | cloudflared tunnel login |
记下生成的 Tunnel ID。
3. 配置路由与服务
修改 ~/.cloudflared/config.yml:
1 | tunnel: <上面生成的Tunnel-UUID> |
配置 DNS 路由:
1 | cloudflared tunnel route dns my-backend-tunnel api.your-domain.com |
启动隧道:
1 | cloudflared tunnel run my-backend-tunnel |
四、 后端自动部署 (GitHub Actions + Gitee 加速)
为了解决国内服务器访问不了 GitHub 的问题,提供下面的思路: GitHub Action 先把代码推送到 Gitee,服务器再从 Gitee 拉取。
国外服务器可以跳过这一步
1. 准备 Gitee 仓库
- 在 Gitee 创建一个同名仓库。
- 在 Gitee 设置中生成 **私人令牌 (Token)**。
2. 配置 GitHub Secrets
在 GitHub 仓库 -> Settings -> Secrets,添加:
HOST: 服务器 IPUSERNAME: 服务器用户名 (如 root)PASSWORD: 服务器密码GITEE_TOKEN: Gitee 的私人令牌
3. 编写 Workflow 文件
创建 .github/workflows/deploy.yml:
1 | name: Deploy Backend |
4. 服务器部署脚本 (deploy.sh)
1 |
|
五、 避坑指南
1. 跨域问题 (CORS)
现象: 前端调用接口报错 CORS error。
解决: 后端配置 CORS 时,尽量显式指定域名,而不是简单的
*。1
2
3registry.addMapping("/**")
.allowedOriginPatterns("https://*.your-domain.com", "https://your-domain.com")
.allowCredentials(true);
2. Mixed Content 错误
- 现象: HTTPS 前端请求 HTTP 后端被拦截。
- 解决: 确保后端也通过 Cloudflare Tunnel 提供了 HTTPS 地址,并且前端环境变量配置正确且已生效(记得重新部署前端)。
3. Gitee 私有仓库拉取失败
- 现象:
fatal: could not read Username。 - 解决: 在 git remote URL 中必须嵌入
username:token,或者在服务器配置 git credential helper。
希望这篇教程能帮助你搭建起自己的自动化部署流水线!🚀